
 Is it time to replace your race suit? Let’s get you track-ready.
 Fitting Coilovers At Home Or Having Them Done
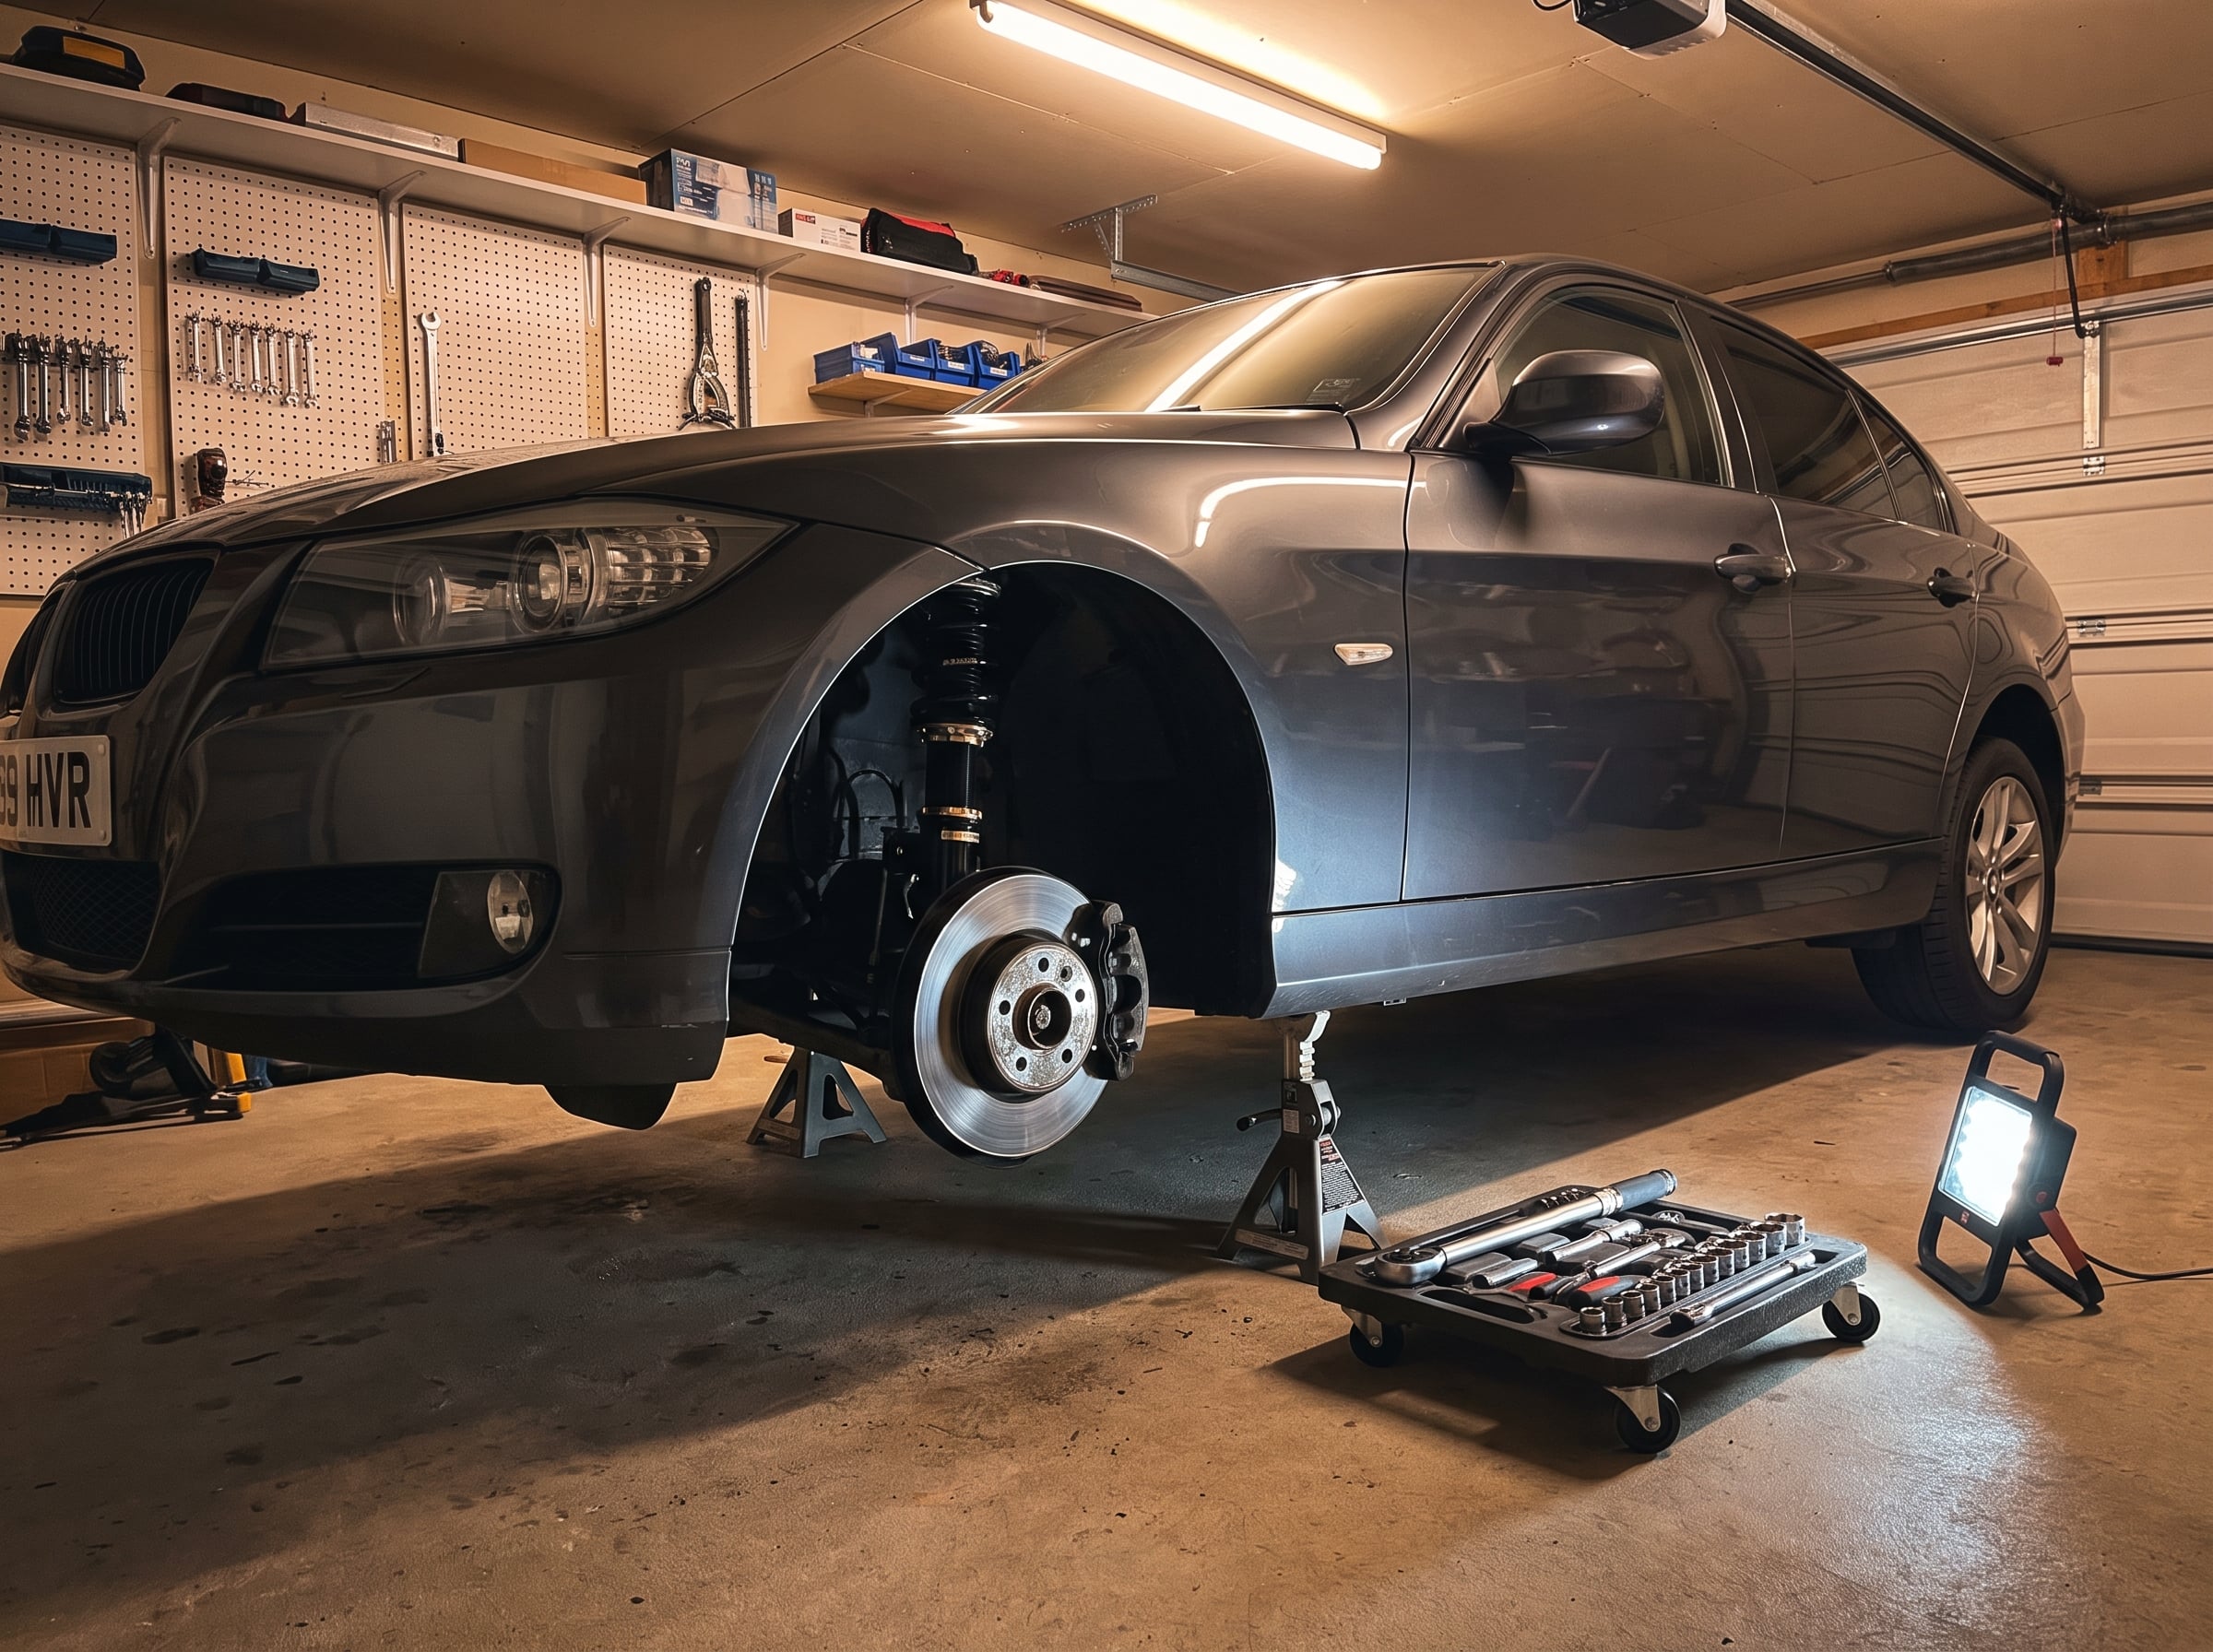
The fitting itself is a day’s work with axle stands or a ramp and the right tools. What actually changes the calculation on whether to do it at home or book it into a workshop is the alignment. You need it done immediately after any coilover change, and it requires a proper alignment rig, not a driveway.
That shifts the cost equation around. Fitting the kit yourself and booking the alignment separately still means paying for the alignment visit. What home fitting saves is the fitting labour alone, and whether that is worth it depends on what equipment and time you have available.
What the job involves
The fronts are usually the simpler half. Wheel off, brake hose and ARB end link disconnected, top mount nuts undone from inside the arch, pinch bolt at the hub carrier loosened, old strut drops out. The BC coilover goes back in the same order. On most of the range the spring comes pre-loaded on the damper body, so there is no compressing a bare spring in the open air at the front. On kits where the rear has a separate spring rather than an integrated strut, a spring compressor is needed at the rear. The listing title carries this: ‘(Rear Integrated)’ means the rear spring and damper are a single unit; a kit without that designation at the rear has a separate spring to compress and fit.
Torque specs matter throughout. The strut top mount, the pinch bolt at the hub carrier, the lower balljoint nut, the wheel bolts: each has a specified figure from BC Racing’s fitting guide or the car’s workshop manual. Running them down to feel and moving on is how things work loose later.
Setting ride height correctly
BC coilovers set height by threading the lower spring perch collar up or down the damper body. That adjustment needs to be made with the car at static ride height on the ground, not with it raised. Set the collar while the car is up in the air and you are working to a spring length with no load through it. Lower the car and the actual height can be well short of where you were aiming.
The sequence is: fit the kit, lower the car, push down on each corner a few times to settle any bind out of the suspension, then measure corner heights and adjust from there. Equal spring perch positions side to side, and close front to rear, is a reasonable starting point. Drive a short distance to let the springs settle, then check heights again, because there is a small amount of additional settlement in the first few hundred miles that is normal and worth accounting for before the final alignment.
Alignment: the step that cannot wait
Changing ride height changes suspension geometry, primarily camber and toe. Both affect tyre wear and how the car handles from the first mile. Running on incorrect geometry for a week while getting round to booking the alignment scrubs the tyre edges that ended up in the wrong position. Book the alignment for after fitting, ideally the same day or the next morning.
Get the springs settled first with a short drive, confirm the height is where you want it, then go straight to the alignment bay. That is the correct sequence: fit, settle, confirm height, align. Alignment done before height is locked in has to be redone once height is confirmed, which wastes the session.
If you are paying a workshop
A workshop fitting a coilover kit will normally include an alignment in the labour. The thing worth asking upfront is whether they will set and confirm ride height before aligning, rather than the other way round. Most good suspension shops will do it in the right order without being prompted. Asking at drop-off makes it explicit.
On BC coilovers, height is adjusted at the lower spring perch collar, not the top mount, on most of the range. Worth mentioning this before the car goes in so the mechanic is not looking for a top mount adjustment that is not there on most BC variants.
Final thoughts
Fitting a BC Racing kit at home is a manageable job for anyone with a ramp or axle stands and a torque wrench. The alignment immediately after is what determines whether the cost of doing it yourself actually holds up. Get the height right before the car moves, book the alignment straight after, and the job follows the fitting guide. The make guides on here cover what is fitted for each platform, including which rear kits are integrated and which are separate, which changes how much of the above applies at the rear.
Cameron, GSM Performance