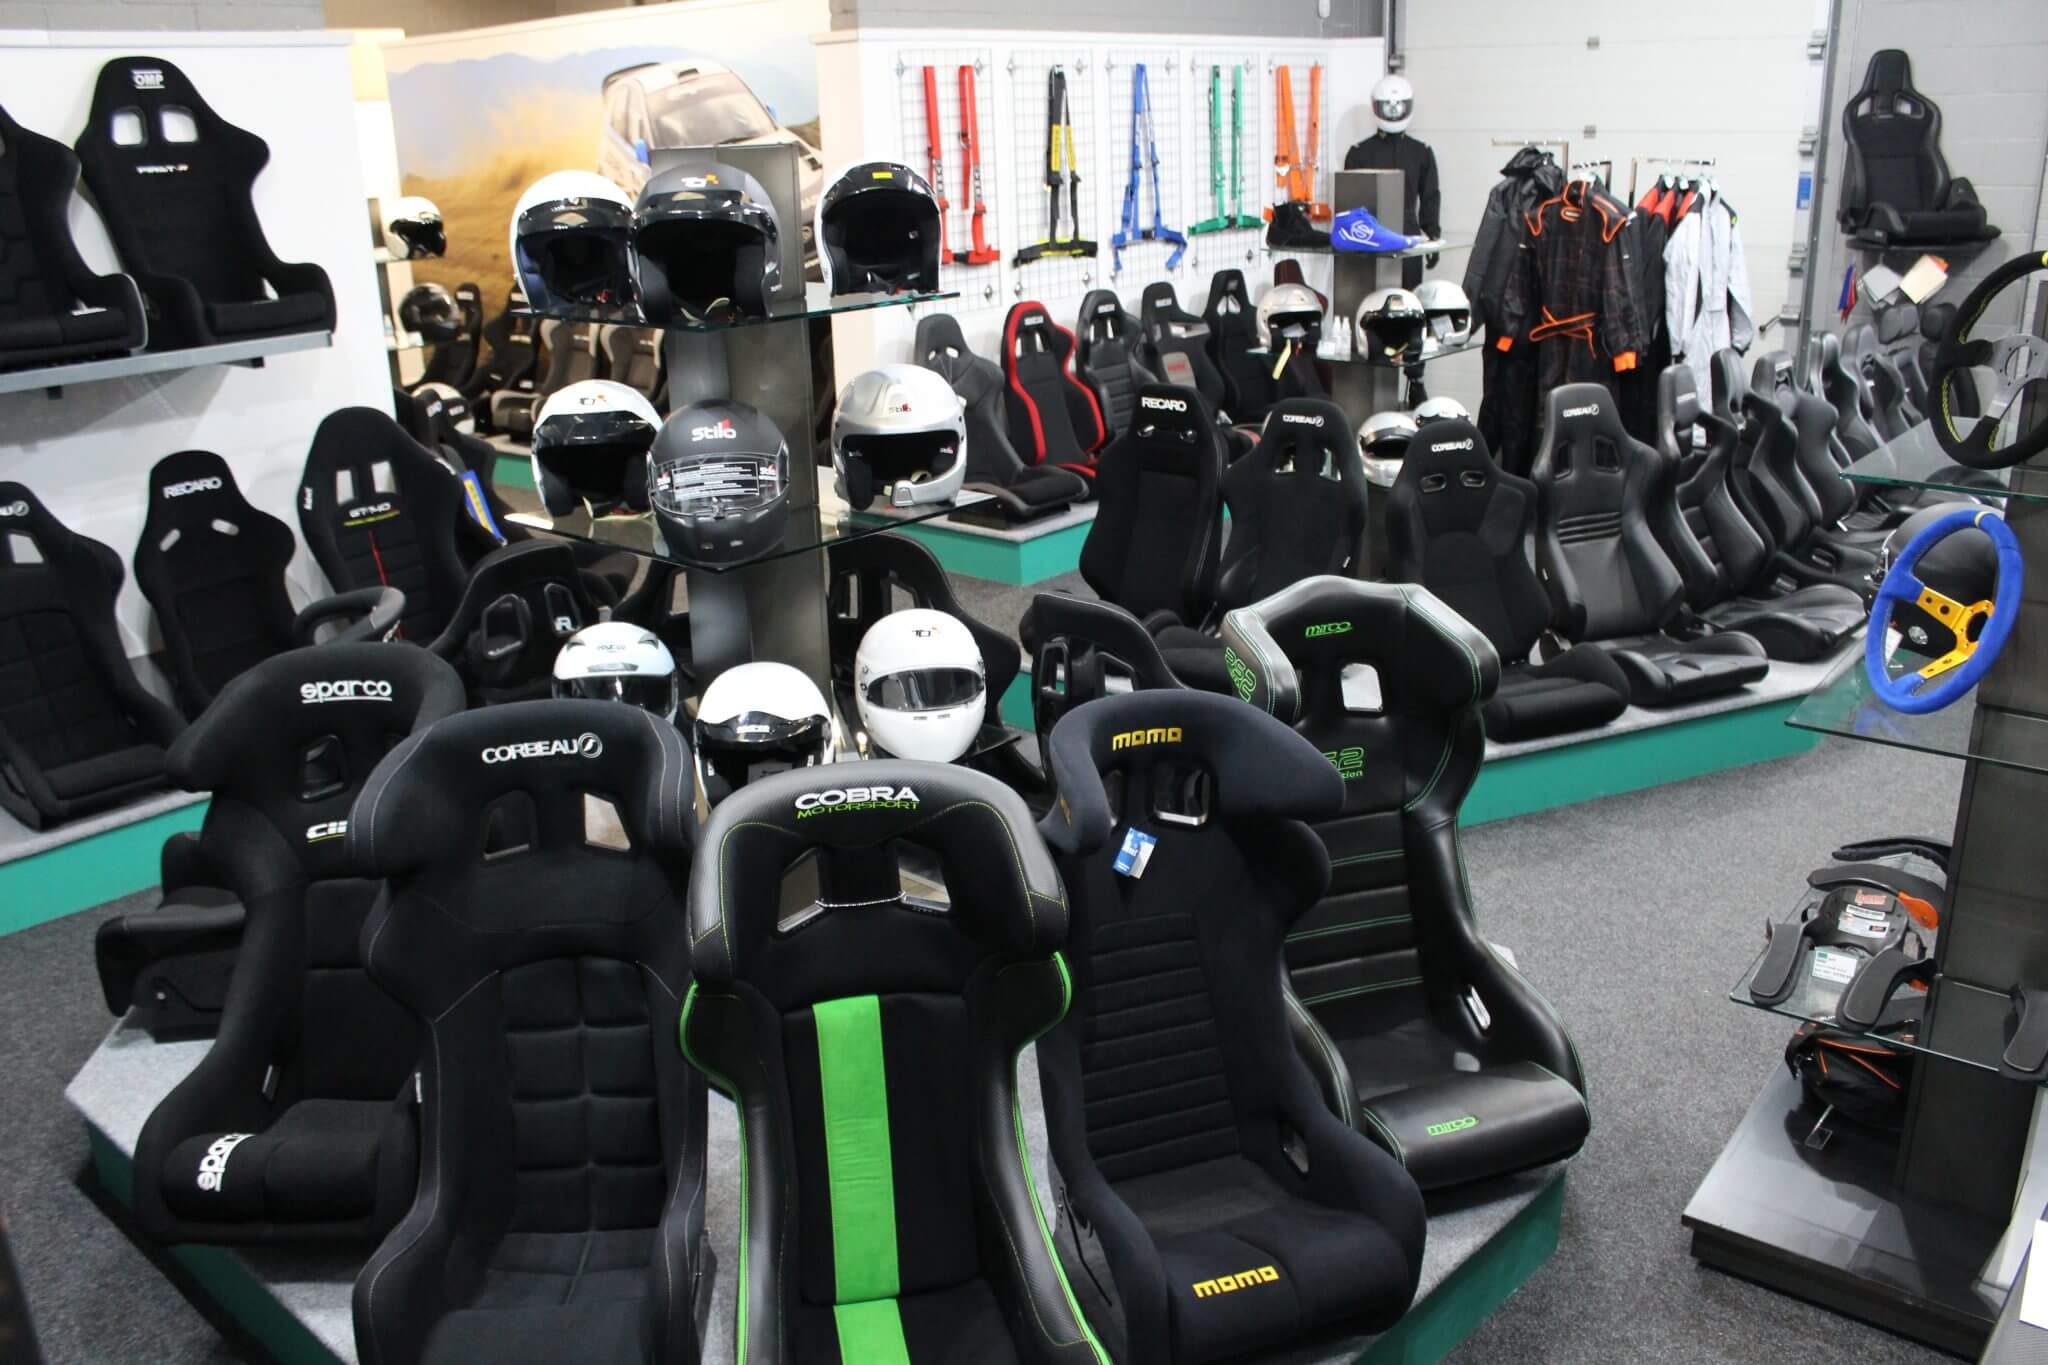
Plan the complete seat mounting stack
Start at the vehicle floor and work upward: frame, runners or fixed adaptors, side mounts where needed, then the seat. Every interface needs matching holes, suitable fasteners and a clear load path. If the parts do not line up, stop before drilling.
The old guide said extending holes was normal and might add five minutes. We have removed that advice. A slot or new hole changes edge distance and load transfer. Get written manufacturer guidance or use a competent fabricator who can assess the complete installation.
Name every layer before ordering
Seat-only dimensions do not tell you what reaches the floor.
| Layer | Job | What must match |
|---|---|---|
| Vehicle floor | Provides the original mounting points | Car, year, body style and left or right side |
| Vehicle-specific frame | Adapts those floor points | Floor pattern, tunnel, wiring and buckle position |
| Runners or fixed adaptor | Adds adjustment or a fixed connection | Width, lock operation, travel and frame holes |
| Side mounts | Hold a side-mounted shell | Seat hole pattern, permitted supports, rake and fasteners |
| Seat | Carries the driver and routes restraints | Mounting type, shell width, approval and belt openings |
Base-mounted reclining seats often use runners between the seat and vehicle frame. Side-mounted competition shells add another pair of brackets. Some installations use a fixed adaptor instead of runners. There is no single shopping list that covers all three.
And left does not always copy right. A tunnel, handbrake, wiring loom or factory buckle can change one side of the car.
Choose one mounting route
Mixing brands can work, but compatibility needs evidence.
01Matched manufacturer system
Seat, runners, adaptors and frame are listed to work together. This gives the clearest instructions and the fewest unknown interfaces.
02Documented mixed system
Parts from different brands have confirmed hole centres, suitable fasteners and an installation already approved by the relevant manufacturers or engineer.
03Custom fabrication
A competent fabricator designs brackets around the vehicle structure, seat, restraint loads and required driving position. This is not a drill-until-it-fits job.
Manufacturing tolerances exist, but they do not automatically authorise elongating holes. If a new frame misses the vehicle floor points, confirm the part number and chassis before changing the metal.
Check the restraint system at the same time
The seat frame can carry more than the seat.
Record before removal
- Factory buckle and pretensioner location
- Connectors under the seat
- Side airbag and occupancy sensor
- Belt anchorage attached to the seat or frame
- Cable and loom routing through full runner travel
Do not leave
- A buckle on an unverified thin bracket
- A trapped wire under a runner
- An SRS warning showing a fault
- A connector stretched at full travel
- A harness anchored to a seat frame without approval
Follow the vehicle repair information before disconnecting an airbag or pretensioner circuit. The ignition, battery procedure and waiting time are vehicle-specific. If that information is not available to you, the installation belongs with a professional who has it.
The current DVSA manual checks driver-seat security and adjustment. It also checks belt anchorages, original pretensioners, airbags and SRS faults. A custom installation must still be properly designed; an MOT is an inspection, not design certification.
Dry-build the assembly before it enters the car
Problems are easier to see on a bench.
Lay out the parts
Check every part number, instruction sheet and fastener. Confirm which holes the manufacturer intends you to use.
Assemble without forcing
The brackets should sit square. Do not pull a gap closed with the bolts or use the fastener as a reaming tool.
Run the sliders
Both rails must lock together through the useful travel. Check the handle and release without a driver sitting in the seat.
Measure the result
Record overall width, height and fore-aft range. Compare it with the tunnel, door, roof and steering position in the car.
Grade, diameter, thread engagement, washers, spacers and tightening torque come from the component instructions. A bolt that happens to fit the thread is not a substitute.
Inspect it as a driver and as an installer
Movement, clearance and warnings all matter.
Load the seat
With the vehicle stationary, sit in it and apply force in several directions. There should be no movement at the floor, brackets or shell.
Check every adjustment
Move through the runner range. Both sides must lock, and nothing should catch a wire, belt or trim panel.
Set the driving position
Check pedals, steering reach, visibility, helmet clearance and safe exit. Do this with the belts you will use.
Recheck after use
Follow the installer or manufacturer inspection interval. Stop using the seat if a fastener loosens, a bracket deforms or the runner lock changes.
Common questions
Can I enlarge a hole in a new seat frame?▾
Do not treat re-drilling as a normal fitting step. Ask the frame manufacturer whether that exact change is permitted. If alteration is required, a competent vehicle fabricator must assess material, edge distance, fastener size and load path before work starts.
Why do the seat and frame bolt patterns not match?▾
The order may be missing runners, side mounts or an adaptor, or parts from different systems may have been combined. Stop and identify every part number. Moving a hole is not the first diagnostic step.
Do universal runners fit every seat?▾
No. Universal describes the runner, not the complete installation. Width, hole centres, handle, locking teeth, travel and fasteners still have to match the seat and baseframe arrangement.
Can I reuse the factory seat-belt buckle?▾
Sometimes, with a frame that provides the correct approved location and hardware. The buckle, pretensioner and wiring are part of the restraint system. Do not attach a buckle to a thin adaptor or leave a pretensioner disconnected.
Will an aftermarket frame make the seat lower?▾
Not automatically. Side mounts, runners, adaptors and the floor shape all add height. Ask for the assembled stack height or measure a proven installation in the same vehicle.
Can I remove the airbag warning with a resistor?▾
A resistor may change what the warning lamp displays, but it does not replace an airbag or prove that the restraint system is correct. SRS work needs the vehicle repair information and a competent installer.
Does an MOT pass prove the installation is safe?▾
The MOT checks items such as driver-seat security, adjustment, belt anchorages and SRS faults. It is not a design approval for custom fabrication. The installer remains responsible for the strength and suitability of the conversion.
What details does GSM need before recommending a frame?▾
Send the car make, model, year, body style and side. Add the exact seat, runners, side mounts, belt plan and photos of the factory seat underside and floor.
Stop and identify why
Send photographs, measurements and every part number. We will check whether a component is missing or mismatched before anyone alters safety hardware.
Contact GSMCall 0115 9893488Book the showroom